Gas stoves are essential for many households, providing efficient and reliable cooking. However, a common issue that can arise is a malfunctioning pilot light. The pilot light is a small flame that ignites the gas burners on the stove. If your pilot light is not working correctly, it can disrupt your cooking routine. In this article, we’ll guide you through the steps to fix a pilot light on a gas stove and ensure your kitchen remains functional.
Table of Contents
Understanding the Pilot Light:
The pilot light is a small flame that burns continuously in gas stoves. It ignites the main burners when you turn on the stove. If the pilot light is not working, the burners won’t light up, affecting the functionality of your stove.
Where is the Pilot Light Located?

The pilot light in a gas stove plays a crucial role in igniting the burners for cooking. Knowing its location is essential for troubleshooting and maintenance. Let’s explore where you can typically find the pilot light.
Under the Stovetop:
In most gas stoves, the pilot light is located under the stovetop. You’ll need to remove the grates and burner caps to access it. Once these are off, you’ll see the pilot light assembly. It’s usually a small, open flame that’s consistently burning.
Near the Burner:
The pilot light is strategically placed near the burners. It’s designed so that when you turn on a burner, the pilot light ignites the gas. This setup ensures efficient and quick ignition of the burners.
Behind a Cover:
The pilot light might be behind a protective cover in some stove models. This cover serves as a shield to prevent any accidental extinguishing of the pilot light due to drafts or movements. If your stove has a cover, remove it to access the pilot light.
Look for a Small Flame:
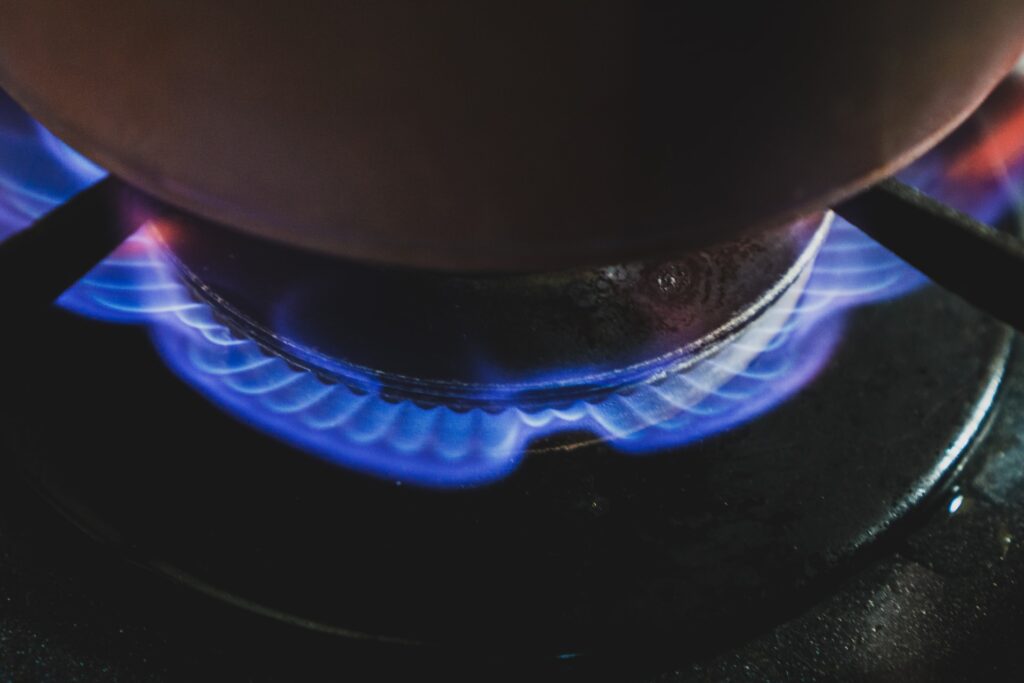
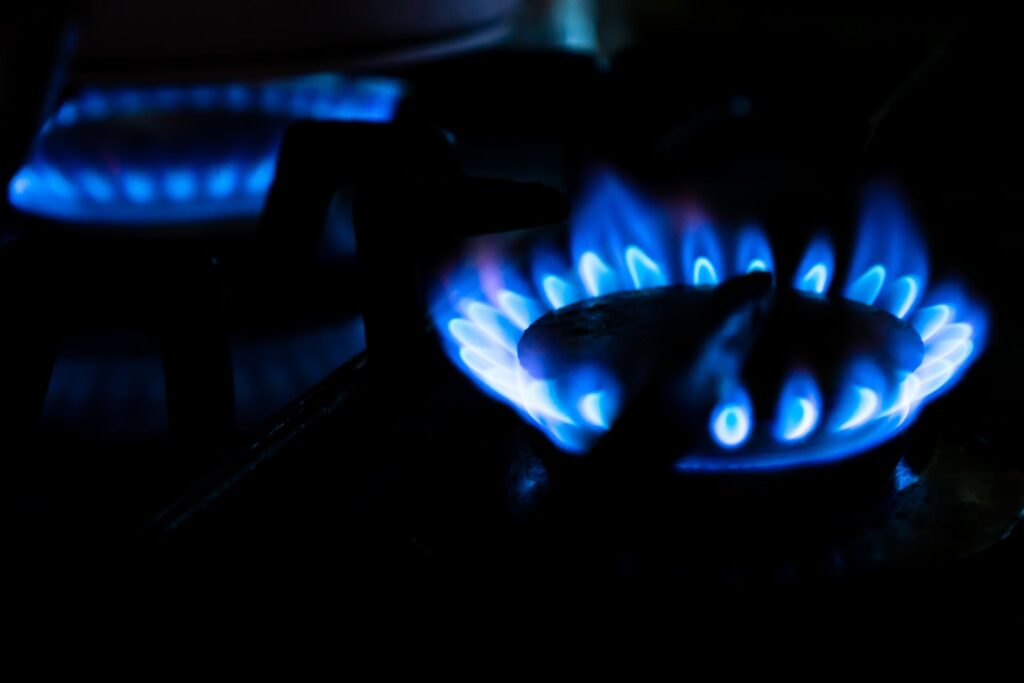
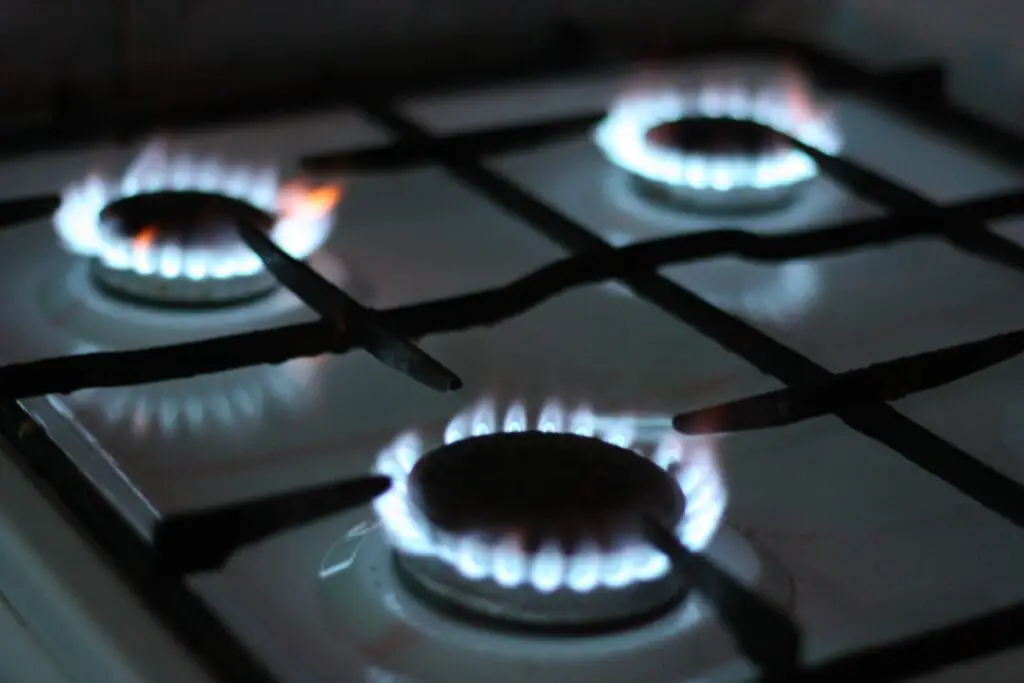
When trying to locate the pilot light, keep an eye out for a small flame. It’s usually blue and can be as small as a candle flame. If you need help finding it, consult your stove’s manual for specific guidance on its location.
How To Fix a Pilot Light on a Gas Stove?
1. Check the Gas Supply
The first step in fixing a pilot light on a gas stove is to ensure that the gas supply is turned on. Locate the gas valve near the stove and ensure it’s in the “on” position. If the gas supply is interrupted, the pilot light won’t ignite.
2. Cleaning the Pilot Orifice
A clogged pilot orifice is a common issue showing a pilot light not staying lit. This tiny opening can become obstructed by dirt, grease, or debris. Use a thin wire or a needle to gently clear any obstructions from the pilot orifice. Make sure the gas is turned off before attempting this.
3. Check Thermocouple Position
The thermocouple is a protection device that senses whether the pilot light is lit. The pilot light might not stay on if it’s not positioned correctly. Locate the thermocouple near the pilot light and ensure it’s in the flame. If it’s misaligned, adjust it so the flame fully engulfs it.
4. Pilot Flame Adjustment
Sometimes, the pilot flame might not be strong enough to heat the thermocouple properly. Locate the pilot flame adjustment screw near the pilot assembly and carefully adjust it to strengthen the flame. A stronger flame can help keep the thermocouple heated and prevent the pilot light from going out.
5. Inspect for Drafts
Drafts of air around the stove area can extinguish the pilot light. Check for any open windows, vents, or fans that might be causing air to blow onto the pilot flame. Ensure the area around the stove is well-ventilated but draft-free to prevent the pilot light from going out unexpectedly.
6. Replace Thermocouple
If all else fails, the thermocouple might be faulty, and the pilot light won’t stay lit. Over time, thermocouples can wear out and lose their ability to generate the necessary voltage to keep the gas valve open. Replace the thermocouple with a compatible replacement to restore the functionality of the pilot light.
7. Preventive Maintenance
To avoid future pilot light issues, perform regular maintenance on your gas stove. Clean the pilot assembly, thermocouple, and surrounding areas periodically to prevent debris buildup. Additionally, ensure your gas stove is inspected professionally at least once a year to catch any potential problems early.
How To Clean a Pilot Light on a Gas Stove:

1. Gather Your Supplies
Gather the required supplies before cleaning the pilot light on your gas stove. You’ll need a soft brush, such as a toothbrush or a small paintbrush, a can of compressed air, a small container of soapy water, a cloth, and safety goggles.
2. Turn Off the Gas
Safety first! Turn off the gas supply to your stove before starting any cleaning. Locate the gas valve behind or beneath the stove and turn it off. This step is crucial to prevent accidental gas leakage while cleaning.
3. Remove the Grates and Burner Caps
Pull your gas stove’s grates and burner lids to access the pilot light. Gently lift them off and set them aside. This will expose the area around the pilot light and make cleaning easier.
4. Accessing the Pilot Light
Depending on your stove model, the pilot light might be located at the back of the stove under a cover or in plain view. Refer to your stove’s manual to find the pilot light’s position. Once found, you’ll want to remove any masks or barriers that may obstruct access to the pilot light.
5. Brush Away Debris
Use the soft brush to gently remove dust, dirt, and debris from the area around the pilot light. Be careful not to push debris into the pilot light, as this could affect its functionality.
6. Compressed Air
After brushing away loose debris, use the can of compressed air to blow air into the pilot light area. This will help dislodge any stubborn dirt or particles the brush might have missed. Remember to wear protection goggles to protect your eyes from debris that might get blown out.
7. Clean with Soapy Water
Dip the cloth into the soapy water and wring it out well. Gently wipe down the area around the pilot light to remove any remaining dirt or grime. Avoid using excessive water, as you want to prevent water from entering the pilot light or any other components.
8. Let It Dry
Allow the area to air dry before reassembling the grates and burner caps. This will ensure that no moisture remains around the pilot light, which could affect its performance when you relight it.
9. Relighting the Pilot Light
Once the area is dry and you’ve reassembled the grates and burner caps, it’s time to relight the pilot light. Follow your stove’s manual instructions to relight the pilot light safely. If unsure about the process, consider having a professional do it.
Why Does My Gas Stove Not Have a Pilot Light?

Most newer gas stoves have avoided pilot lights, opting for more efficient and safer ignition systems. The reason your gas stove lacks a pilot light can be attributed to these modern technological advancements.
One of the primary reasons for the absence of pilot lights is energy efficiency. Pilot lights constantly consume a small amount of gas to stay lit, even when you’re not using the stove. This might not seem like much, but over time, it can accumulate and contribute to energy wastage. To counter this, manufacturers have shifted towards electric ignition systems that only use gas when you’re actively cooking.
Safety is another paramount factor. Pilot lights have occasionally blown out due to drafts or other factors. In such cases, gas could unknowingly escape, creating a potentially hazardous situation. Electric ignition systems provide a safer alternative. These systems only release gas when the electric igniter is activated, significantly reducing the risk of accidental gas leaks.
Maintenance convenience has also played a role in the shift away from pilot lights. Keeping a pilot light burning requires regular upkeep, as dust and junk can accumulate and affect performance. On the other hand, electric ignition systems require less maintenance and are generally more reliable.
Moreover, modern gas stoves have embraced electronic controls and automation. Many newer models feature electronic control panels that allow you to set precise temperatures and cooking times. These control panels often connect with the electric ignition system, offering a seamless cooking experience.
While the absence of a pilot light is a common trend in newer gas stoves, some traditional models or commercial-grade appliances might still retain pilot lights due to specific functional requirements. However, for most residential users, the transition to electric ignition systems is a welcomed improvement that enhances energy efficiency, safety, and convenience.
Conclusion:
At the end of this article, armed with a better understanding of the intricacies surrounding pilot lights on gas stoves, you now know how to tackle the common issue of a malfunctioning pilot light.
Remember, while modern stoves have moved away from pilot lights in favor of electric ignition systems, some older models or specialized appliances may still require your attention. Following the steps outlined here and with patience, you can confidently troubleshoot and rectify pilot light problems, ensuring your gas stove operates efficiently and safely again.
What is a pilot light on a gas stove, and why is it important?
A pilot light is a small, continuously burning flame that ignites the main burner of a gas stove. It’s crucial as it provides a constant source of ignition for the gas, allowing you to easily light the stove without the need for matches or lighters.
Why do some gas stoves no longer have pilot lights?
Many modern gas stoves have transitioned to electric ignition systems due to improved energy efficiency, safety, and maintenance benefits. Pilot lights can waste energy by continuously burning gas and pose a risk of accidental gas leaks if extinguished.
What are some common issues with pilot lights?
Pilot lights can become dirty, clogged, or misaligned over time, leading to problems like weak flames, flickering, or complete non-ignition. Drafts, dirt, or gas supply issues could contribute to these problems.
Can I fix the pilot light on my gas stove myself?
Yes, you can often troubleshoot and fix pilot light issues independently. Many problems are minor and can be resolved without professional help.


